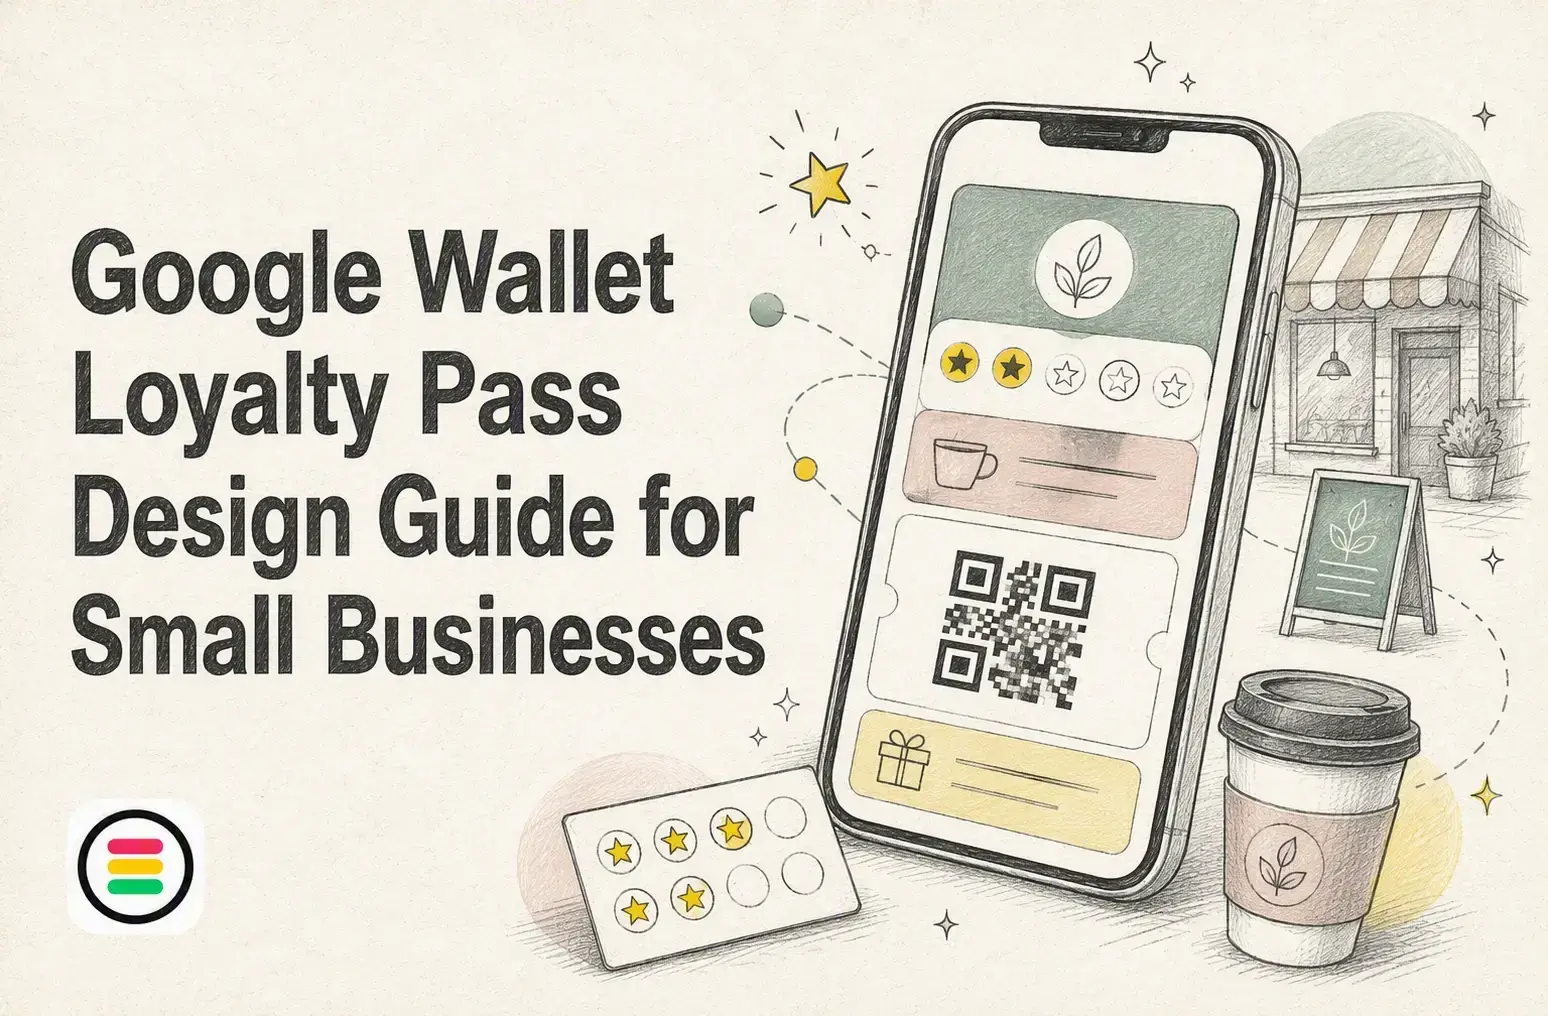
At the counter, a coffee shop customer should see their member ID, point balance, and available reward in seconds. A weak Google Wallet pass hides that value behind vague labels or stale data.
This guide shows how to design a clear, checkout-ready Google Wallet pass using Google’s Class and Object setup. You will learn what to show, where to place it, and how to test a Google Wallet pass before customers use it.
A cashier needs to confirm the pass in seconds. Put these four items first:
Google Wallet supports barcode scanning and NFC tap for loyalty card redemption, as outlined in Google’s redemption guide.
Keep offers, store hours, and long terms off the card face. Put them in pass details.
Use a clear logo, one strong brand color, and high-contrast text. Avoid tiny type and busy backgrounds.
| Asset | Checkout-ready choice |
|---|---|
| Logo | Simple mark with clear edges |
| Color | One readable background shade |
| Pass name | Short program name |
Google notes that logos may display with circular masking, so leave safe space around the mark in your brand assets.
Also Read: Wallet Passes vs. Standalone Loyalty Apps: Which Is Better?
Create one Loyalty Class for each program design, such as “OneCup Coffee Rewards.” It holds shared branding and rules, not customer data. Google defines the class as the template for related passes, including style and appearance. Google's terminology guide confirms that each customer pass uses this shared class.
Set these fields first:
Keep labels short. Small phone screens can cut off long text.

| Class field | Example |
|---|---|
| Program name | OneCup Coffee Rewards |
| Points label | Stamps |
| Brand color | Deep green |
Create one Loyalty Object per member. Link it to the class, then add their name, unique account ID, point balance, and scan barcode. Google requires each object ID to be unique for your issuer. Its object reference also supports a barcode and loyalty-point balance.
Never put shared balances in the class. They belong only in the customer object.
Also Read: Loyalty Reward Cards: How They Work and Why Your Business Needs One
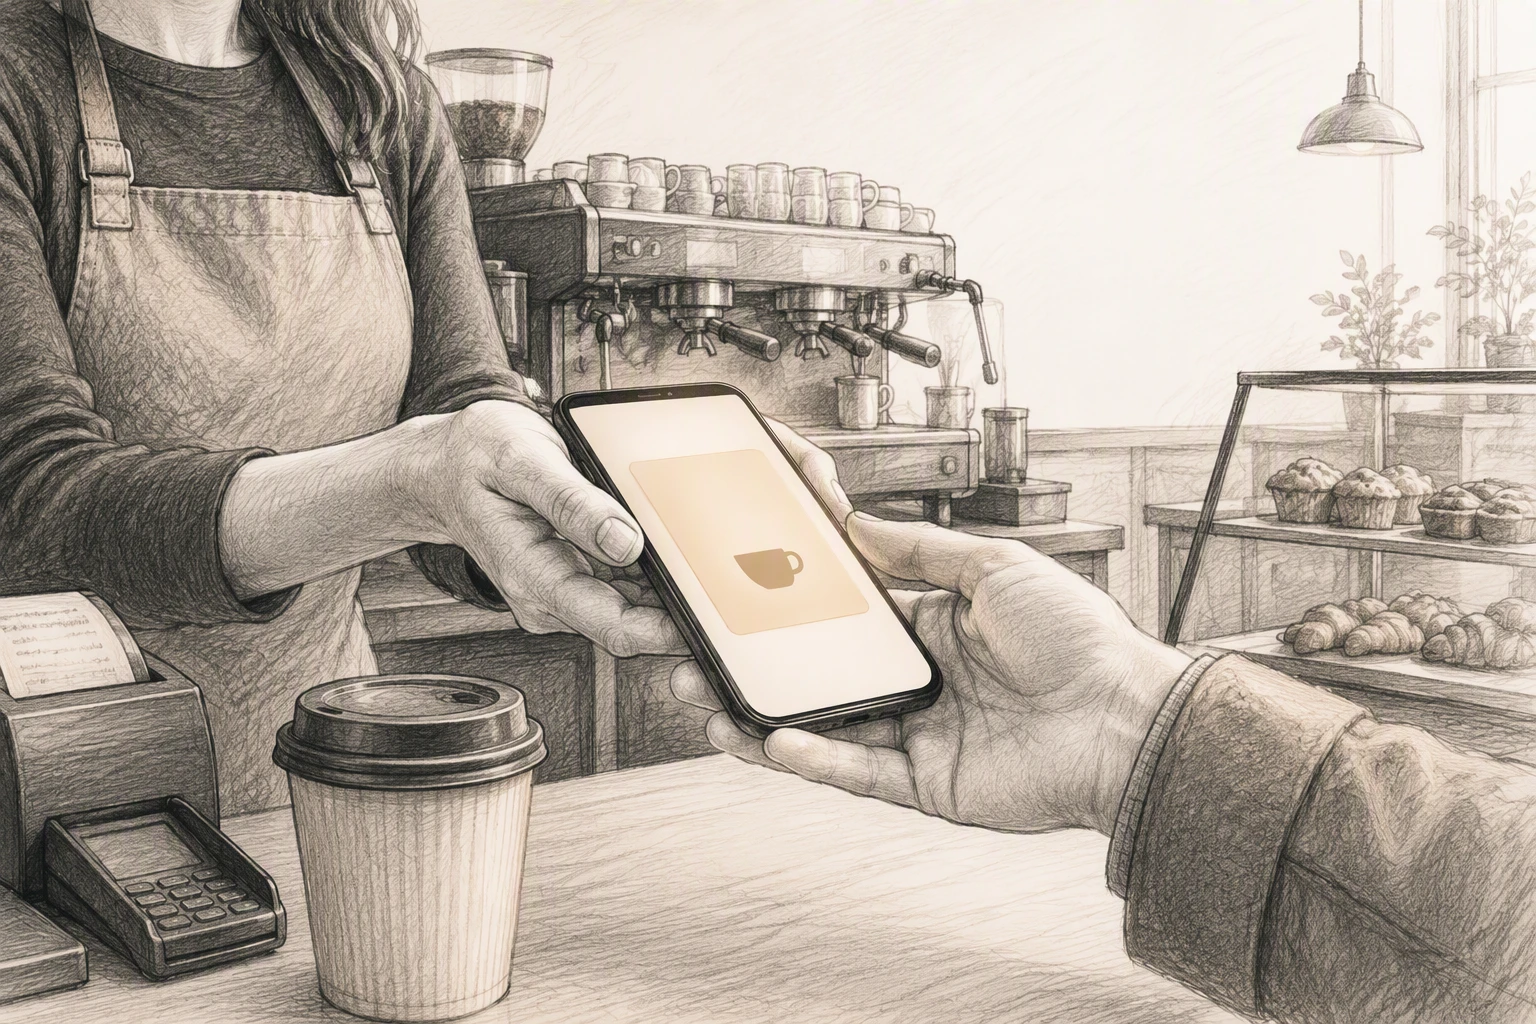
Create a unique loyalty object for each customer, then generate and sign its JWT on your server. Place the official Add to Google Wallet button on the post-signup page, receipt email, and SMS link. Google recommends this familiar button for linked surfaces, and the same flow works across web, email, and SMS. See Google's web issuance guide.
| Check | Why it matters |
|---|---|
| Unique object ID | Prevents one customer's pass replacing another |
| Tested Google account | Confirms the save screen opens |
| Live issuer access | Lets all customers add passes |
Warning: Demo-mode passes work only for approved test accounts.
Also Read: Loyalty Program Cards: The Complete Guide for Businesses
Use one Android phone, one test pass, and your normal checkout flow. Google’s loyalty-card checklist calls for in-store barcode scanning and staff training.
Warning: Do not show a barcode if your counter cannot scan it. Give staff a clear fallback method.
Build a branded, app-free loyalty pass without API headaches. Start with OneCup to launch rewards customers can save and use.
Create a loyalty class for shared brand details, then an object for each customer. Add points, barcode data, and clear reward text. Test the pass on Android before sending it.
Use a barcode that your checkout scanner already reads. Match the value to your customer ID or membership number, not a changing points balance.
Yes. Update the customer’s loyalty object whenever they earn or redeem points. The pass refreshes in Google Wallet, so members see their current balance.
Build one clear class, issue accurate customer objects, and keep the pass face simple. Follow Google’s pre-launch testing checklist before release, especially barcode scans, balance updates, and button behavior.
OneCup LLC
651 N BROAD ST - SUITE 201
MIDDLETOWN DE 19709
United States
Whatsapp : +18023003737

.svg)

.svg)