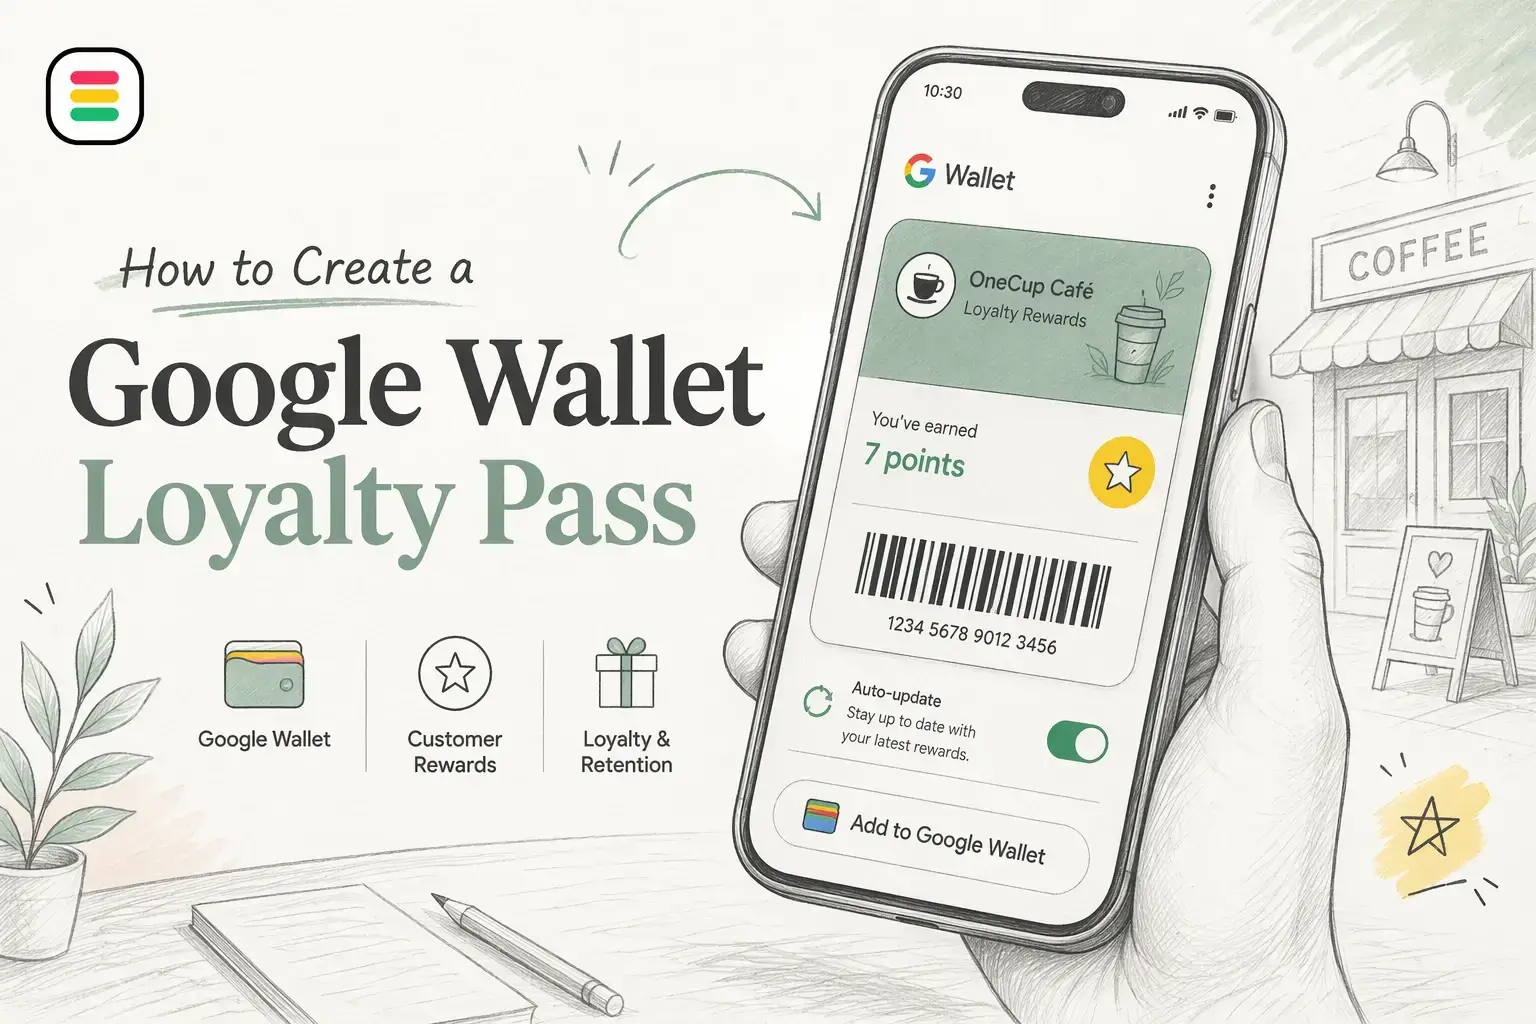
Quick Summary: Creating a Google Wallet loyalty pass involves setting up an issuer account, designing a shared pass template, and creating individual customer passes. Passes can be issued via web, email, or SMS, making app-free loyalty programs easier to adopt. Testing and customizing the pass for clarity and usability are crucial before launch. Maintaining up-to-date balances and offers helps ensure ongoing customer engagement.
A coffee shop with ten locations can swap paper punch cards for a Google Wallet loyalty pass that loads fast, updates points live, and stays easy to reuse. That is why more brands are looking at Google Wallet Rewards, Digital Loyalty Cards, and better Customer Loyalty Tools.
The hard part is not the idea. It is Loyalty Pass Creation, Reward Program Setup, and getting each pass to work across stores without adding staff friction or customer confusion. Many teams want App-Free Loyalty, but they get stuck on setup, pass design, and launch planning.
This Loyalty Program Guide shows how to Create Loyalty Pass offers that fit real operations. You will learn the core steps for Loyalty Pass Creation, how Google Wallet Rewards supports Digital Reward Cards, and how to roll out Seamless Reward Programs with Digital Loyalty Cards that customers actually use.
Google Wallet Rewards start with one simple idea: a class is the template, and an object is the member pass. Google says every pass uses both parts, with the class holding shared program details and the object holding user-specific data like account ID or points in its loyalty card docs.
For Loyalty Pass Creation, think of it like this:

Google also supports issuing passes through links, websites, email, and SMS, which matters if you want Digital Loyalty Cards without forcing app downloads from Google's overview.
Why app-free loyalty improves adoption
App-free Google Wallet Rewards remove a common blocker: people do not need your app to save or use the pass.
If customers can join from a text, receipt, or landing page, Loyalty Pass Creation usually gets more saves.
For brands like OneCup, that makes Digital Loyalty Cards easier to launch at scale, especially for retail, F&B, and franchise teams.
Start in the Google Pay & Wallet console with the Google account that will own admin rights. Google says every new issuer account starts in demo mode, so you can test passes first, but only admins, developers, and approved test accounts can receive them until you get publishing access through the dashboard Google's issuer onboarding guide.
Use this checklist before you move on:
If you run multiple locations, set up the issuer account at the brand level. Store-level passes get messy fast.
Your loyalty class is the shared template for every customer pass. Google's loyalty class reference shows the key fields you will likely set first: programName, programLogo, issuerName, labels for account details, rewards tier, homepage link, and brand color Google's loyalty class reference.
Keep the template simple at first:
| Template field | What to enter | Best practice |
|---|---|---|
| Program name | Your loyalty program name | Keep it short and clear |
| Issuer name | Your business or brand name | Use the main brand, not one branch |
| Labels | Member ID, points, tier | Use plain words customers know |
A clean first template is better than an overloaded one. You can refine it after testing.
The loyalty object is the customer-level pass. Google says it stores the unique fields for one user, while the class holds the shared template for all passes. Keep this object lean and useful.
Include:
Google's loyalty object reference also notes that accountName and accountId are recommended at 20 characters max for better display on small screens in the official field docs.
Use the object for data that changes by customer. Keep brand styling, logo, and program rules in the class.

Next, choose the value staff or scanners will use at checkout. Most brands use one of these:
A simple rule works best: the value on the pass should match the value your POS already knows.
| Checkout method | Best use | Watch for |
|---|---|---|
| Barcode | Fast in-store scans | Scanner format must match |
| Account ID | Manual lookup backup | Staff need clear process |
| Smart Tap value | Faster tap flows | More setup work |
If you run many locations, test one scan method first. Consistency beats clever setup.
Google says you can issue a pass through a signed link on web, email, SMS, and chat. It also recommends using the official Add to Google Wallet button anywhere image links are supported, like your site and email in its issuing guide.
Use this simple rollout plan:

Keep the pass save step as close as possible to signup or purchase. Delay kills adoption.
Match the delivery method to how people already buy from you. Fast-service retail and cafes do well with a web button after checkout plus SMS. Hotels, salons, and service brands often get better results from email after booking.
| Audience behavior | Best channel | Why it works |
|---|---|---|
| In-store signup | SMS | Easy to open on the same phone |
| Online checkout | Web | Lowest friction right after purchase |
| Booking or reservation | Better for longer confirmation flows |
Google also notes users can add supported passes directly from issuer sites and apps through the Add to Google Wallet flow in Wallet Help.
If you use OneCup, keep the signup form short and trigger the wallet link right after submit.
Open your class and object together, then check the pass like a customer would. Google Wallet lets you control layout with pass customization, including which class fields and user-specific object fields show on the card face Google's customization guide.
Use a short review list:
If one field feels unclear, remove it or move it lower. A clean pass beats a crowded one.
Run a full dry run before you promote the pass. Google says you should create at least one loyalty object, save it to Google Wallet on an Android device, and test expected functions before public release in its pre-launch testing checklist.
Test these steps in order:
For multi-location brands using OneCup or a custom setup, test at more than one store. Frontline staff should know what the pass looks like and what to do if scanning fails.
Avoid design and messaging that make the pass hard to use. Cramming too much text onto the card face is a common mistake. Google's pass customization guide says the front should stay focused on the most important fields, while extra details belong in the details view or messages Google Wallet pass customization guide. Keep labels short, points easy to spot, and the value clear at a glance.
Avoid operational mistakes that break the program. Many teams launch before testing real customer flows. Google's pre-launch checklist calls for button, browser, save-flow, field, and in-store scanning tests Google's pre-launch testing guide. Also avoid stale balances, broken links, and weak staff training.
If a customer cannot save, scan, or understand the pass in seconds, the setup needs work.
Set up your Wallet issuer account, create the loyalty pass class, define member fields, design branding, test save and update flows, then connect it to your sign-up and reward process.
It keeps rewards easy to access, supports real-time updates, and reduces app friction. Customers see points, offers, and store details fast, which helps repeat visits across locations.
Include points or stamp balance, member ID, expiry details, reward milestones, store info, and timely offers. Keep the pass simple so customers understand value at a glance.
Yes. OneCup can help businesses tailor branding, reward logic, customer journeys, and pass updates, which is useful when you need a scalable setup across many stores or regions.
Start with one clear reward, train staff, connect the pass to checkout or booking flow, and track redemption rates. A simple launch usually beats a complex program.
OneCup suits teams that want app-free loyalty, easier rollout, and flexible branding. It can reduce setup friction and help operators manage offers and member engagement at scale.
Often yes, but it depends on your POS, CRM, and data flow. Check whether your system can pass loyalty IDs, trigger updates, and sync rewards without manual work.
Collect only needed customer data, explain how you use it, store it securely, and follow local privacy laws. Review consent, marketing permissions, and data retention rules before launch.
A Google Wallet loyalty pass works best when you treat it like a live customer touchpoint, not just a digital card. The core setup is simple: create a pass class, create a pass object, and issue it through an Add to Google Wallet flow, as outlined in Google's loyalty card overview. The real win comes after launch. Keep balances, offers, and member details current, since Google's update guidance shows passes can be refreshed over time. If your rollout is clear, branded, and easy to save, adoption gets much easier.
If you'd rather skip the manual setup, OneCup offers app-free digital loyalty cards-including Google Wallet and Apple Wallet passes-built for small businesses. Get started with OneCup and see how simple digital loyalty can be.
OneCup LLC
651 N BROAD ST - SUITE 201
MIDDLETOWN DE 19709
United States
Whatsapp : +18023003737

.svg)

.svg)